
Tenoning Jig
Tenoning Jig

Table of contents :
Tenoning Jig
Here is a tenoning jig for the table saw.

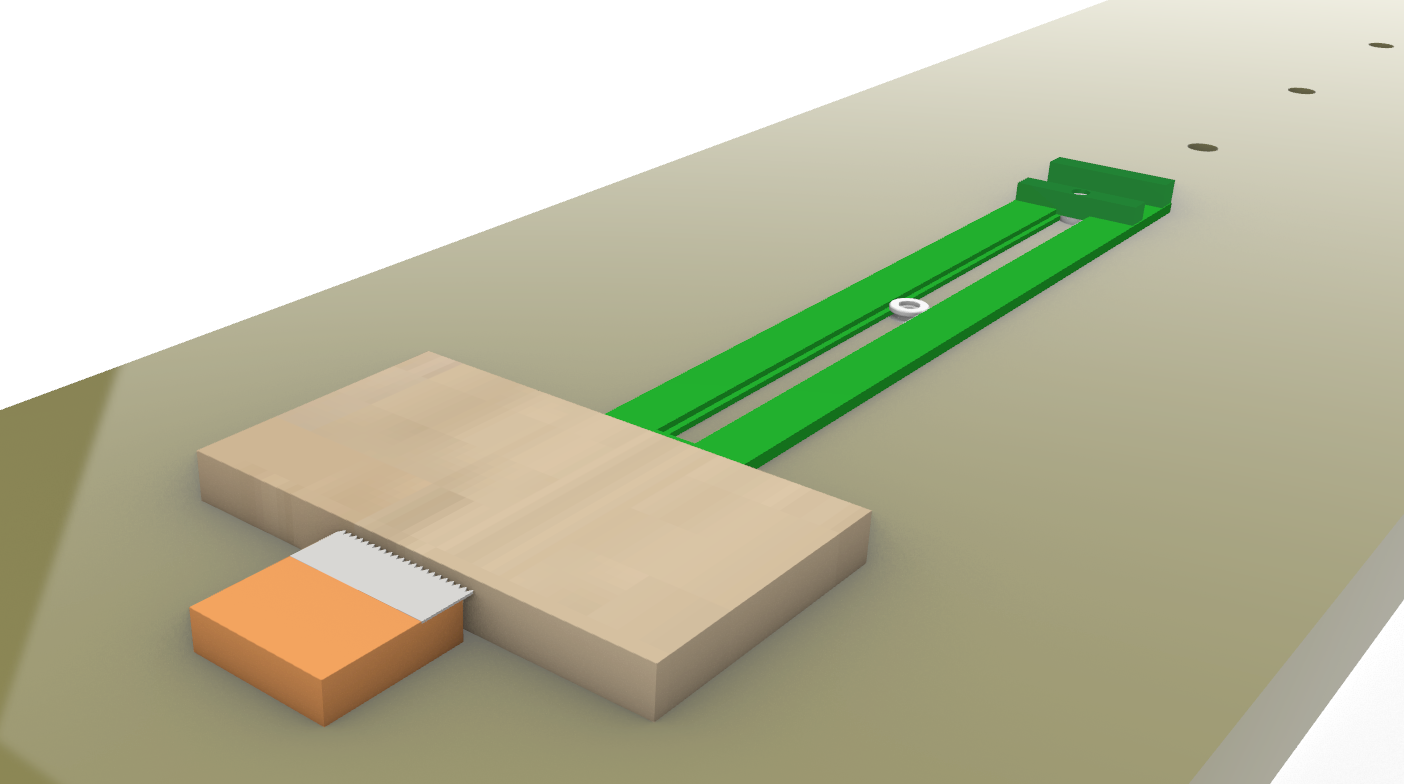
The aim of this type of jig is to hold the workpiece vertically in order to cut the sides of the tenon with the table saw blade. For maximum accuracy, you want to really fine tune the distance between the jig carriage and the blade. For that purpose, a wide variety of models can be found, often quite sophisticated, featuring a side slide with setup and stop mechanisms, like Mathias Wandel’s model for instance.
In my particular case, my saw’s parallel guide already has a built in fine tuning mechanism. I thus decided to build a much simpler model which slides astride the parallel guide, taking benefit from the guide’s fine tuning.

I found the model that inspired my version on the great online tooling
encyclopedia [Homemadetools.net](http://www.homemadetools.net/tenoning-
jig-18).
This plan was originally published in Fine Woodworking #198 April 22
2008.[ ](www.homemadetools.net/tenoning-
jig-18)
](www.homemadetools.net/tenoning-
jig-18)
It was originally made out of phenolic plywood, which has the advantage to be a slippy material. As I didn’t have that kind of material, I did mine with 18mm outdoor plywood, and I rubbed the sliding parts with paraffin wax.
As on the original model, the workpiece is hold thanks to a couple of toggle clamps.
|

The back is different from the model. I kept the handle cut on the strut, but the strut goes beyond the slide towards the right side, in order to take a good reference on the table and guaranty the squareness of the carriage with respect to the table.
—|—

The assembly is the same as on the original model, edge sunk in the width of the plate, screwed.
|

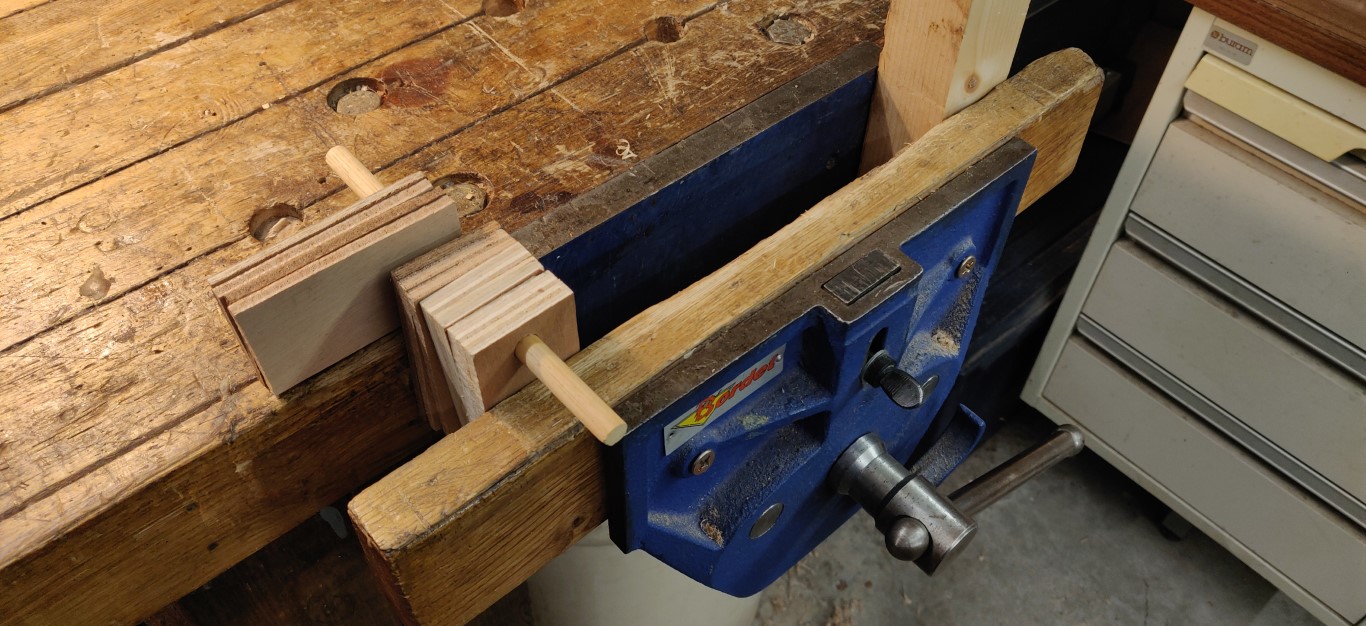
The slide astride the parallel guide. The play is minimal. The inside surfaces are rubbed with the tip of a candle for reducing the friction with the metal pieces.
Here is a quick demonstration of how to make a tenon with that kind of jig :

Using the saw carriage, a stop installed on the guide on the left, I first cut the shoulders of the tenon on the 4 faces. If no carriage available, it can be done using a sled.
|

I install the workpiece in the jig, hold with the toggle clamps. The blade height is set up, as well as the distance between the blade and the parallel guide.
—|—

After the first pass, the piece is turned over, keeping the same set up, in order to cut symmetrically the opposite face.
|
The setup is modified in order to cut the two other faces.

Here is the tenon finished, perfectly centered (by construction), and the shoulders in perfect continuity all around. This process is very efficient when you have a whole batch of identical tenons to make.
|
Please feel free to leave me any comment here, or on Facebook, or yet on HomemadeTools.
Christophe

Older readers comments