
Pewter inlaying
Pewter inlaying
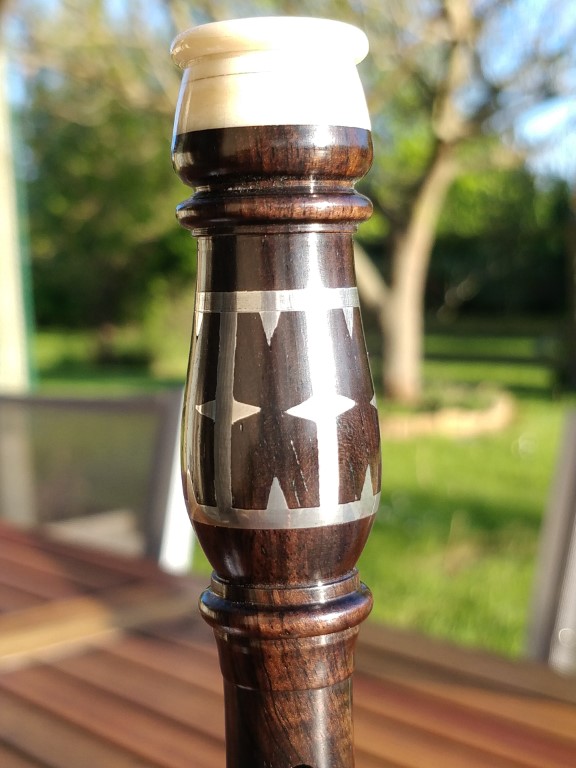
Table of contents :
Pewter inlays

This article explains how to make metal inlays on turned wood, like it can be
seen on traditional musical instruments, like the great bagpipes from the
center of France or the Breton binious and bombardes.
This method can of course be applied to any turned or carved wood project .
Carvings
×
- 1 -

|
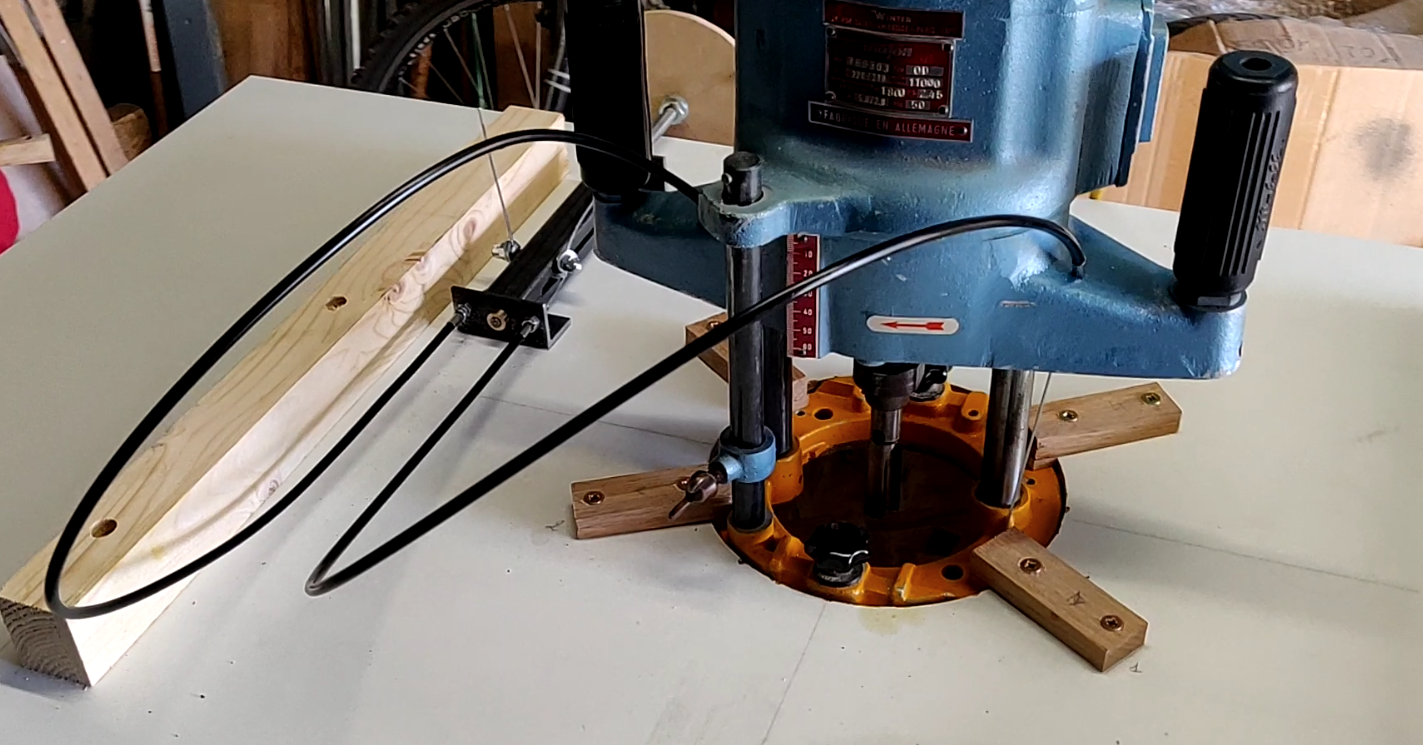
The first step is to carve grooves on the wood at a depth of at least 1mm.
The annular carvings are made with the lathe, with a narrow parting tool for example.
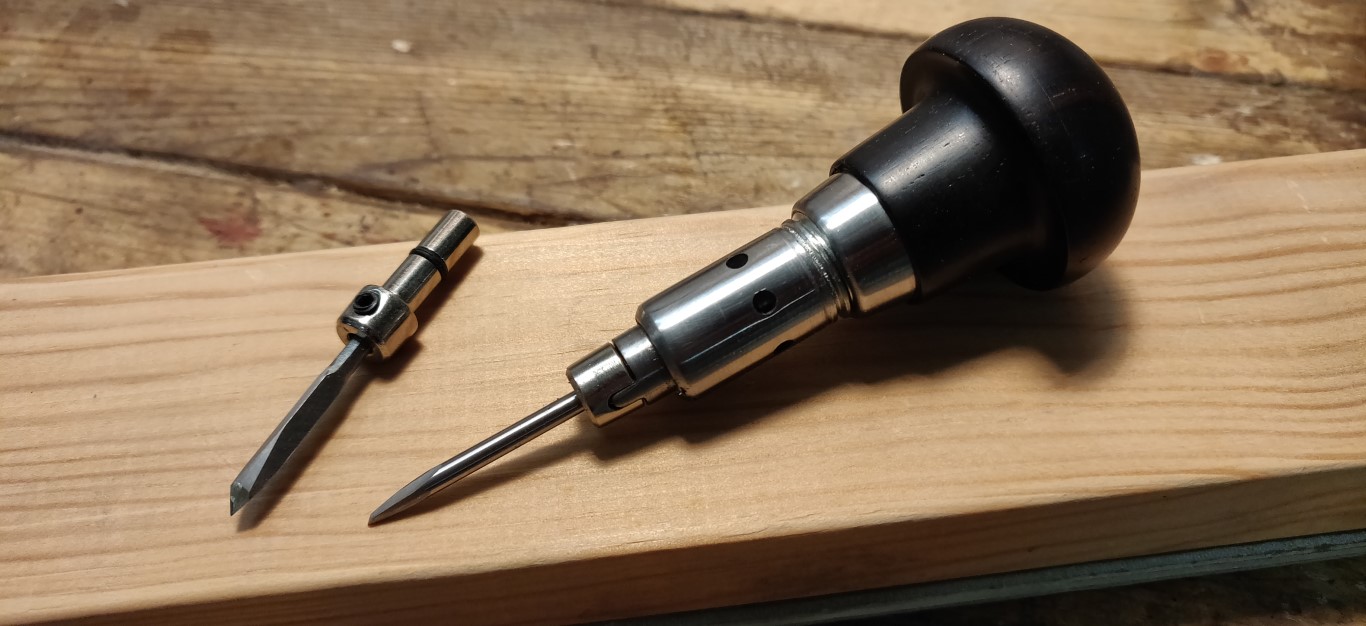
The straight grooves along the axis of the workpiece are made with an end mill cutter and a rotary tool installed in the tool post of the lathe.
See this [tool in detail here.](http://www.homemadetools.net/forum/high-speed- spindle-tool-lathe-61321#post93470)
—|—
- 2 -

|
It is important to ensure that the metal inlay can not move in its housing, so
it is important to either connect them together or make notches to properly
lock them.
In the case of a flat part, it is necessary to make dovetailed carvings, or
even in some cases to use small nails so that the tin remains hooked to the
wood.
Some strengthen, after pouring, the seal using fluid cyanocrylate glue. I do not personally practice this method.
Using a soldering iron
- 1 -

|
In the case of small rings in full wood, the simplest method is to use the
soldering iron.
I use a stainless steel spatula (in the background in this photo), which I
insert between the soldering iron tip and the tin.
It takes a little training to get there, but there is a certain temperature
where the tin is pasty, and it is then easy to push it in the grooves with the
spatula.
—|—
- 2 -

|
The metal used in this case is a tin-lead alloy used by roofers.
It goes without saying that lead is not suitable for food contact and it is
not advisable to make a mount that could be in contact with the mouth with
this method.
Turning
- 1 -

|
It is very easy to turn tin on the wood lathe using wood tools.
Whenever possible, I salvage the chips to melt them for a new use.
—|—
- 2 -

|
Prefer sharpened gouges to scraper tools.
To avoid tearing it is best to cut a neat chip that will roll onto itself.
Of course, you need to take very small passes, it may require some training
for beginner turners.
- 3 -

|
Sanding requires very light pressure and use of gradual grits, starting already quite fine.
Here is he body of the instrument after sanding
On open pore wood, tin will tend to get into the pores, so it can be helpful
to use a pore filler before you start carving.
Here, I went up to grit 2000.
The bell
- 1 -

|
For this bombarde bell, the decoration of the top does not approach the edge, it remains in full wood, so I used the soldering iron method as above.
If it was a ring at the edge, I would have used the traditional method of the molding cardboard, see below.
—|—
- 2 -

|
The periodical decorations are carefully traced (dividing plate or compass), so as to be well distributed around the perimeter.
The notches are carved with a sturdy cutter with a locked blade. You have to change the blade frequently for ebony.
- 3 -

|
The bottom ring will be quite massive, it can not be done with a soldering iron.
- 4 -

|
The slope of the bell also prevents to use the method of the molding cardboard.
Notice the groove above the notches that will prevent the ring from coming out at the top on this picture.
- 5 -

|
The decoration of the top is made as above with a soldering iron.
- 6 -

|
The bottom ring is going to be made in a custom shaped wooden mold.
Mounting a piece of wood on a face plate with four screws.
The negative profile of the ring is turned.
- 7 -

|
A dummy core is also turned down, which will allow to center and firmly hold the bell against its mold.
- 8 -

|
Ready to pour tin.
- 9 -

|
For casting, I use tin from various sources.
Chips of previous works, pieces of pewter pots very easy to find for almost
nothing in flea markets, and I eventually complete with a soldering bar.
- 10 -

|
To melt tin, I use a small cast iron pot also found at a flea market.
The cast iron has a high thermal inertia and keeps the tin very hot during
casting.
This gives more time for the operation.
- 11 -

|
Skimming waste floating on the surface.
- 12 -

|
Tin must be clean before pouring.
- 13 -

|
Pouring.
VERY IMPORTANT : Make absolutely sure that there is no trace of moisture in the mold where you will pour the tin, at the risk of seeing violent projections of molten tin under the effect of steam.
- 14 -

|
The thermal inertia of the crucible is very important to get plenty of time for pouring the melted tin.
- 15 -

|
It must quite overflow.
- 16 -

|
I shake slightly to raise any bubbles.
- 17 -

|
Once cooled, taking the piece back on to the lathe.
The wooden mold was not removed from the face plate for that reason.
The cardboard box underneath is used to salvage the chips.
- 18 -

|
Before removing from the mold, machining the top of the ring.
- 19 -

|
Un-molding.
- 20 -

|
Using a wooden mandrel and a live center cone, also custom made out of wood.
- 21 -

|
For the inside turning of the bell, I secure the piece on the mandrel with a piece of inner tube.
- 22 -

|
And here is the finished and fine sanded bell.
It is not excluded to get some gaps after removing from the mold. They are filled using the soldering iron.This is often the case for the small notches. The process may have to be repeated several times.
- 23 -

|
Bottom view of the bell.
Traditional method
The traditional method consists in carving the grooves on the turned piece,
making sure there is an access up to the edge of the workpiece for the tin
network that will be poured in by that end.
A piece of cardboard or thick leather is rolled around the piece, it is fixed
with a string or tape, tight at the base of the carvings.
Then, the melted metal is poured in the end, between the cardboard and the wood.
- 1 -

|
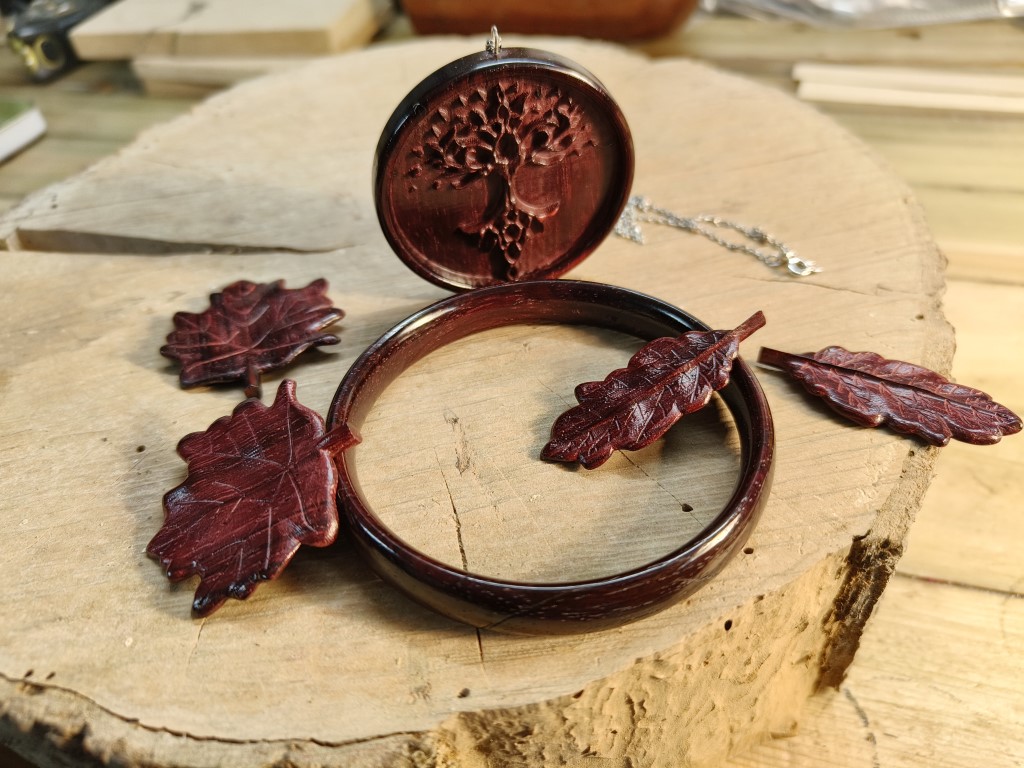
This double knit (it can be used at both ends) was made with this method. The decor is inspired by the great bagpipes of central France.
—|—
- 2 -

|
Unfortunately, I did not keep any photo of the process, but I represented here in drawing the cardboard mold that was used. The hole in the center of the piece was temporarily plugged before pouring the melted tin.
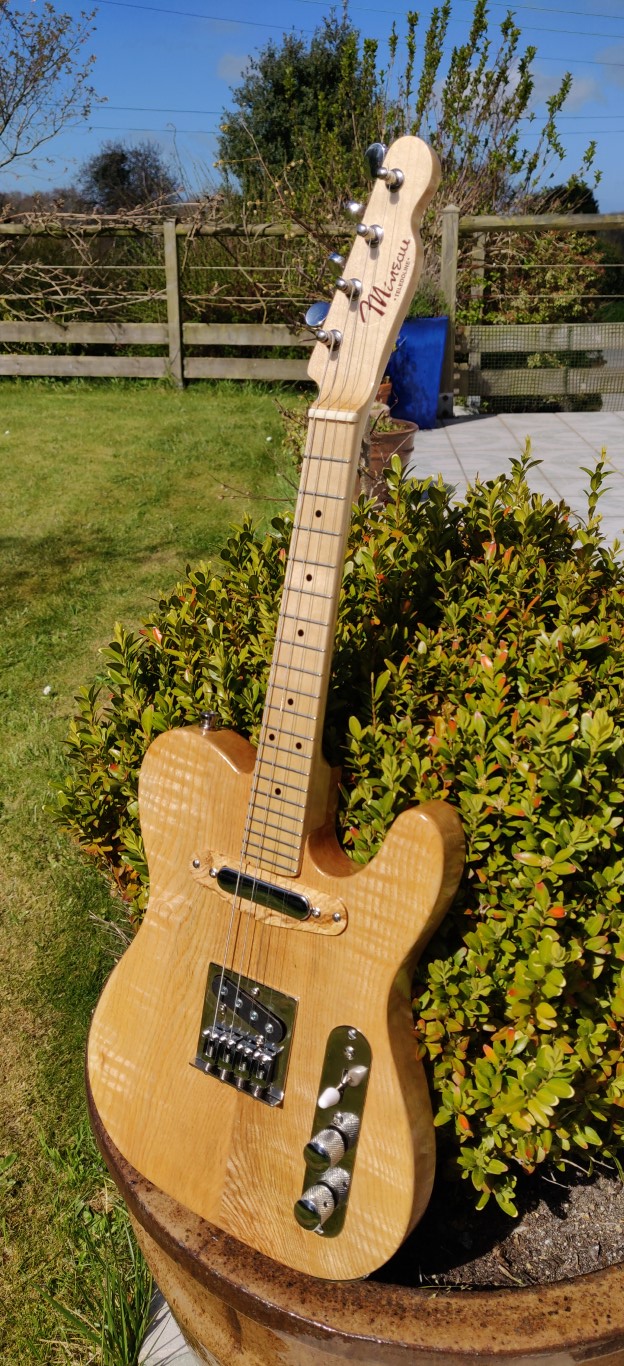
You can see an example of a finished pewter inlayed instrument in this
article.
Do not hesitate to react to this article in case of question or you can
contact me also on my Facebook page.
Christophe
(PS I remind you that I do not sell my creations or my services, this
information is published only for purposes of sharing and mutual aid for
amateur makers.)

Older readers comments