
Connected Smart Tool Box
Connected Smart Tool Box
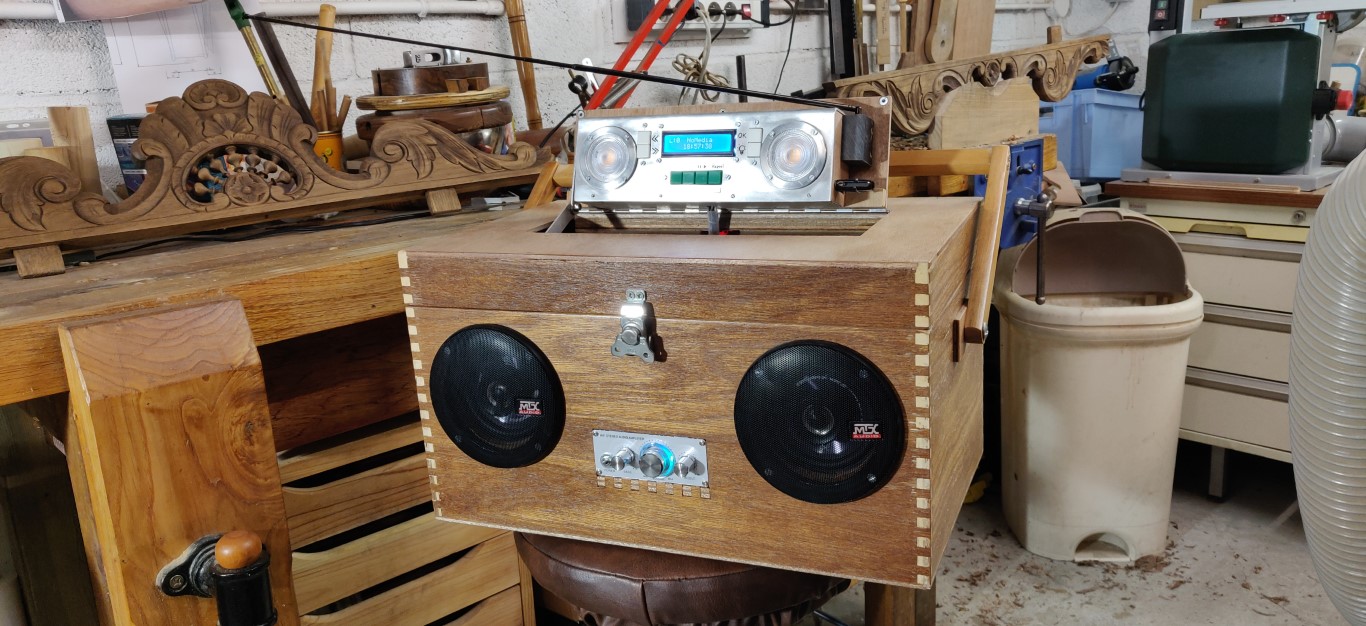
Table of contents :
Multi-function and connected toolbox

Here is a toolbox of a new type!
Not only does it carry your tools, it provides also many other services:
-
Lighting of the building site
-
220V power supply
-
5V USB power supply
-
12V 20A power supply
-
Clock with alarm function
-
Multimedia:
- Class D2x20W stereo amp
- FM tuner
- USB MP3 + SD player
- Bluetooth audio
-
Broadcast of messages with sound and light signals :
- The machine is connected to the Wifi network
- The machine has a web interface
- From any Internet browser, you can send messages that are broadcast on the box.
-
"Time for lunch !" -
"Come and see me" -
"Hello" -
"Call me" -
"You make too much noise!"
Video demonstration
How it is made
- The main board is a Wemos D1 R1, which is an Arduino Uno form-factor, but with an ESP8266 module wich is much more powerful and which has a Wifi interface.
- This board hosts the web server and the main application, written in C ++.
- The main board also connects the physical buttons on GPIO ports, and is connected to other devices through an I2C bus.
- Non I2C equipment (Analog Mux and the serial MP3 player) are connected to an Arduino Nano slave board, itself connected through I2C to the main board.
- The clock, the FM tuner, the LCD monitor are connected to the I2C bus (3.3 and 5V mix).
- There is an analog part in this build, which is a quadruple stereo inputs to 1 stereo output multiplexer , controlled by the slave Arduino board. This part is entirely home made.

Diagram (click on the image to see in high definition)
List of principal components
- Main board: Wemos D1 R1, based on ESP8266.
- Slave board: Arduino Nano
- Clock Module: DS3231 Real Time Clock
- MP3 player for messages:
- USB / SD MP3 Player: MP3 Player Audio Decoding Micro USB Port Module with TF Card and U Disk Player
- FM Tuner: TEA5767 FM Module 76-108Mhz
- Bluetooth radio module: WINGONEER Bluetooth wireless audio receiver V4.2 CSR64215
- LCD Display: 1602 16x2 HD44780 Character LCD Display
- I2C adapter for LCD display: Serial I2C 1602 16 × 2 Character LCD Module
- Relay Module: Relay Module 10A to 1 Channel Compatible Arduino
- Analog Multiplexer: based on CD4052, inspired by this page.
Thank you to the Sonelec website for his work very didactic.
Some images of the making :
×
- 1 -

|
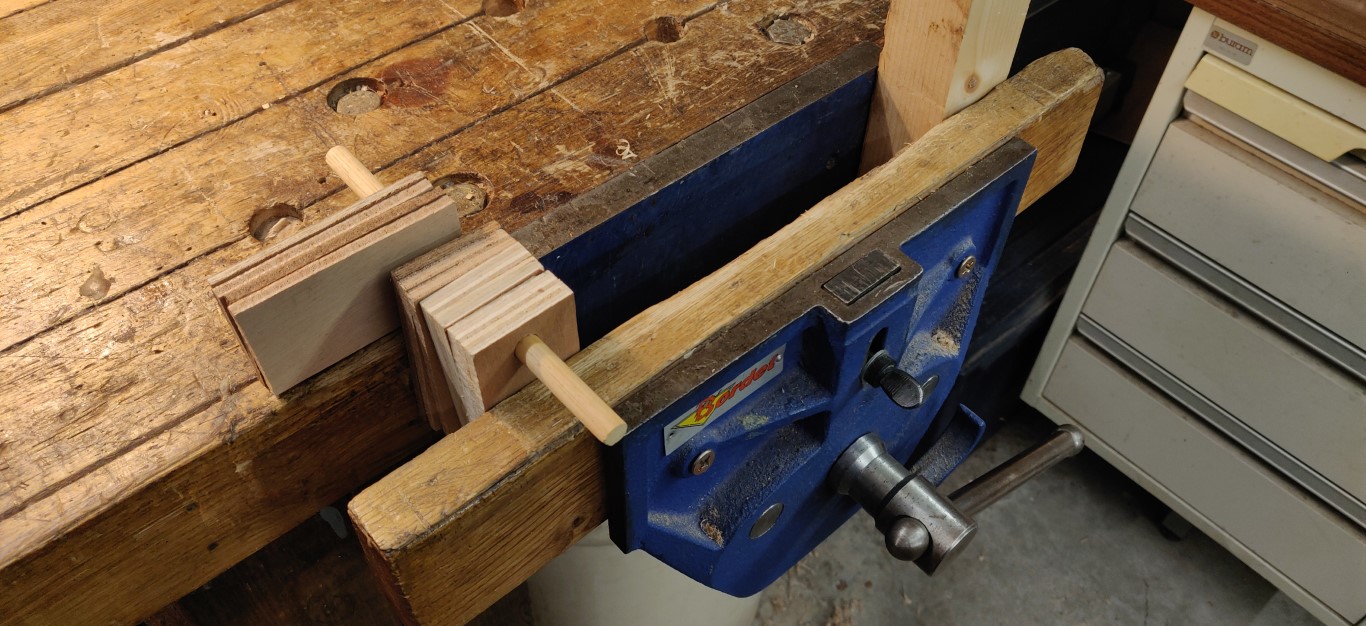
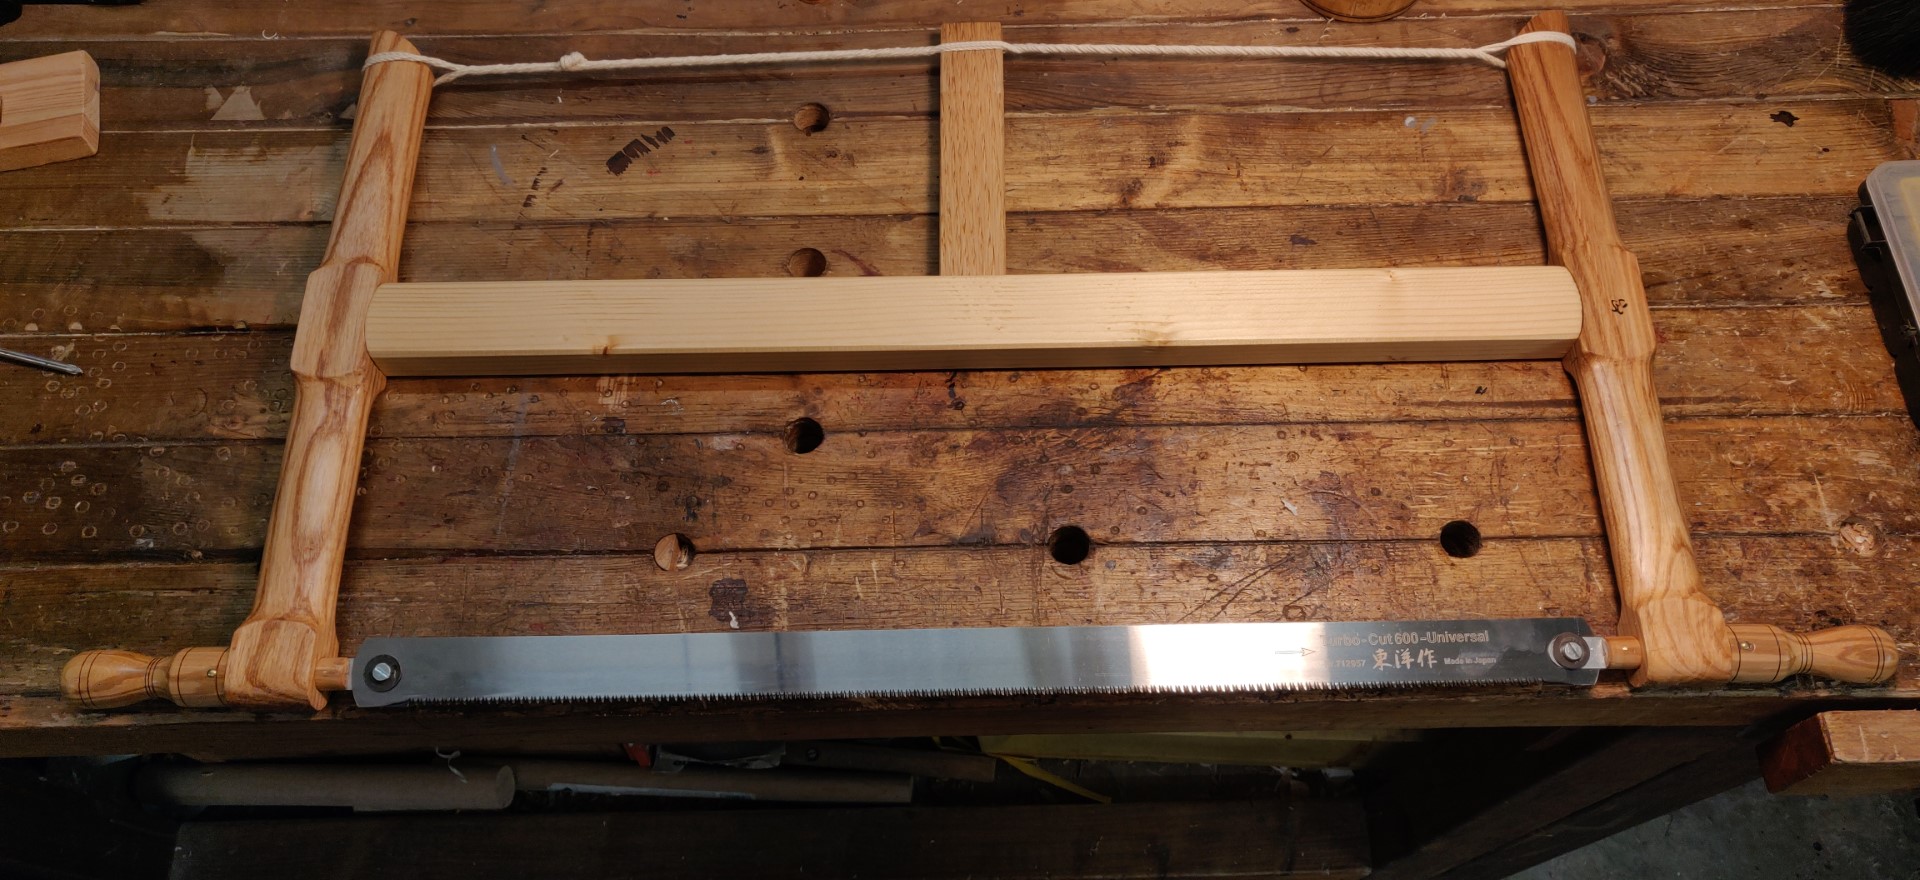
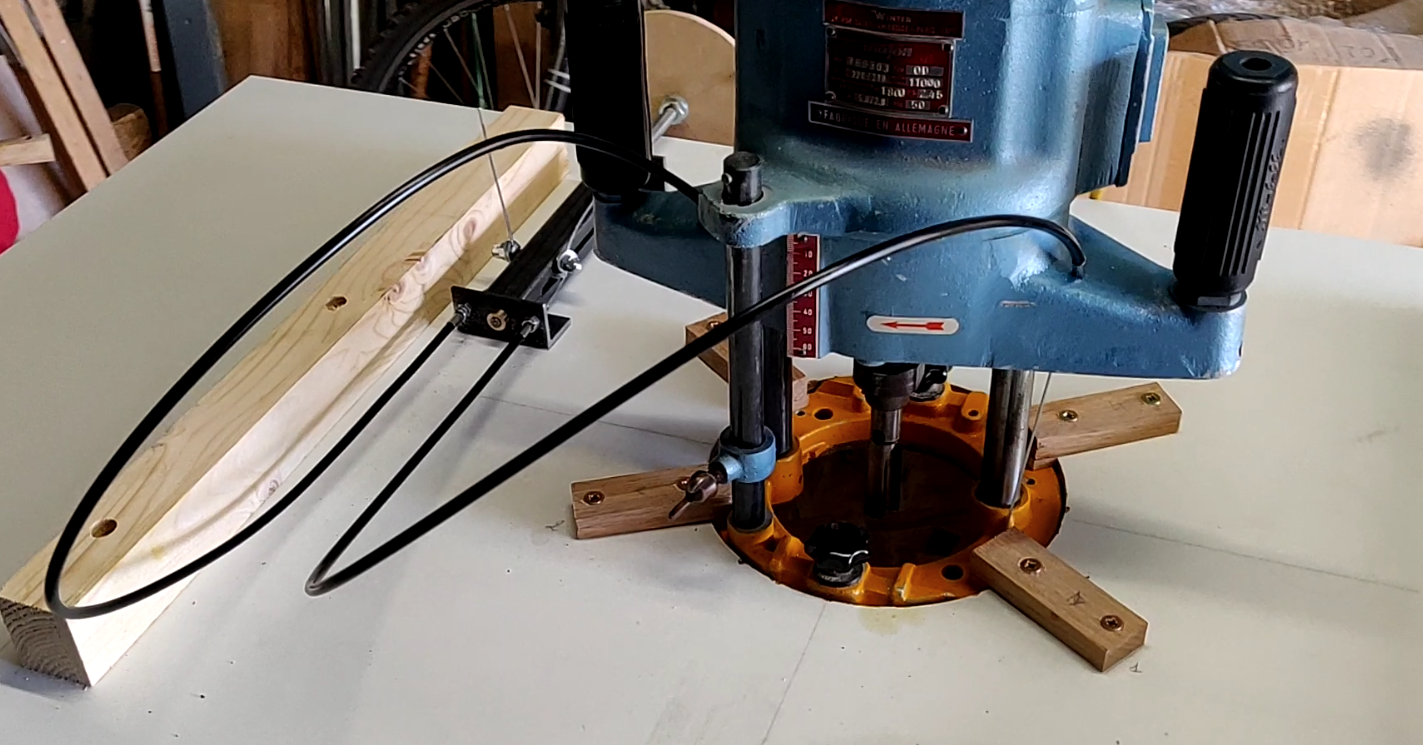
The box is built with a straight tail assembly using my digital finger joint
jig, see this tool here.
The inner cuts are made with a scroll saw.
—|—
- 2 -

|
The box is assembled and glued, and then the lid is cut on the table saw.
- 3 -

|
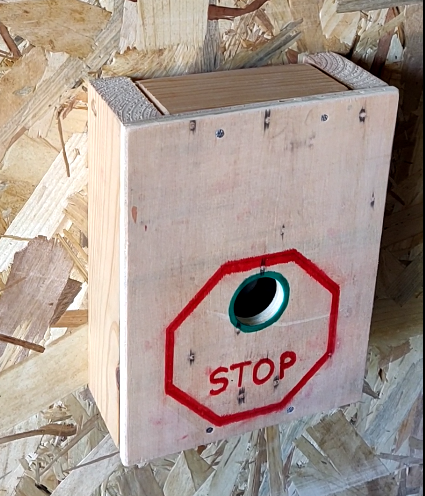
Prototyping …
- 4 -

|
Assembly of the first board containing the MP3 player for messages, the Arduino Nano slave board, and the analog multiplexer based on a CD4052 integrated circuit.
- 5 -

|
Connectors based on Dupont connectors
- 6 -

|
Soldering a female connector
- 7 -

|
Board completed, front
- 8 -

|
Back. The tracks are made using wrapping wire.
- 9 -

|
Making of the aluminum panel. Internal cuts.
- 10 -

|
Tracing the flanges for the spots.
- 11 -

|
Turning the flanges for spots.
- 12 -

|
Wood structure of the control panel.
- 13 -

|
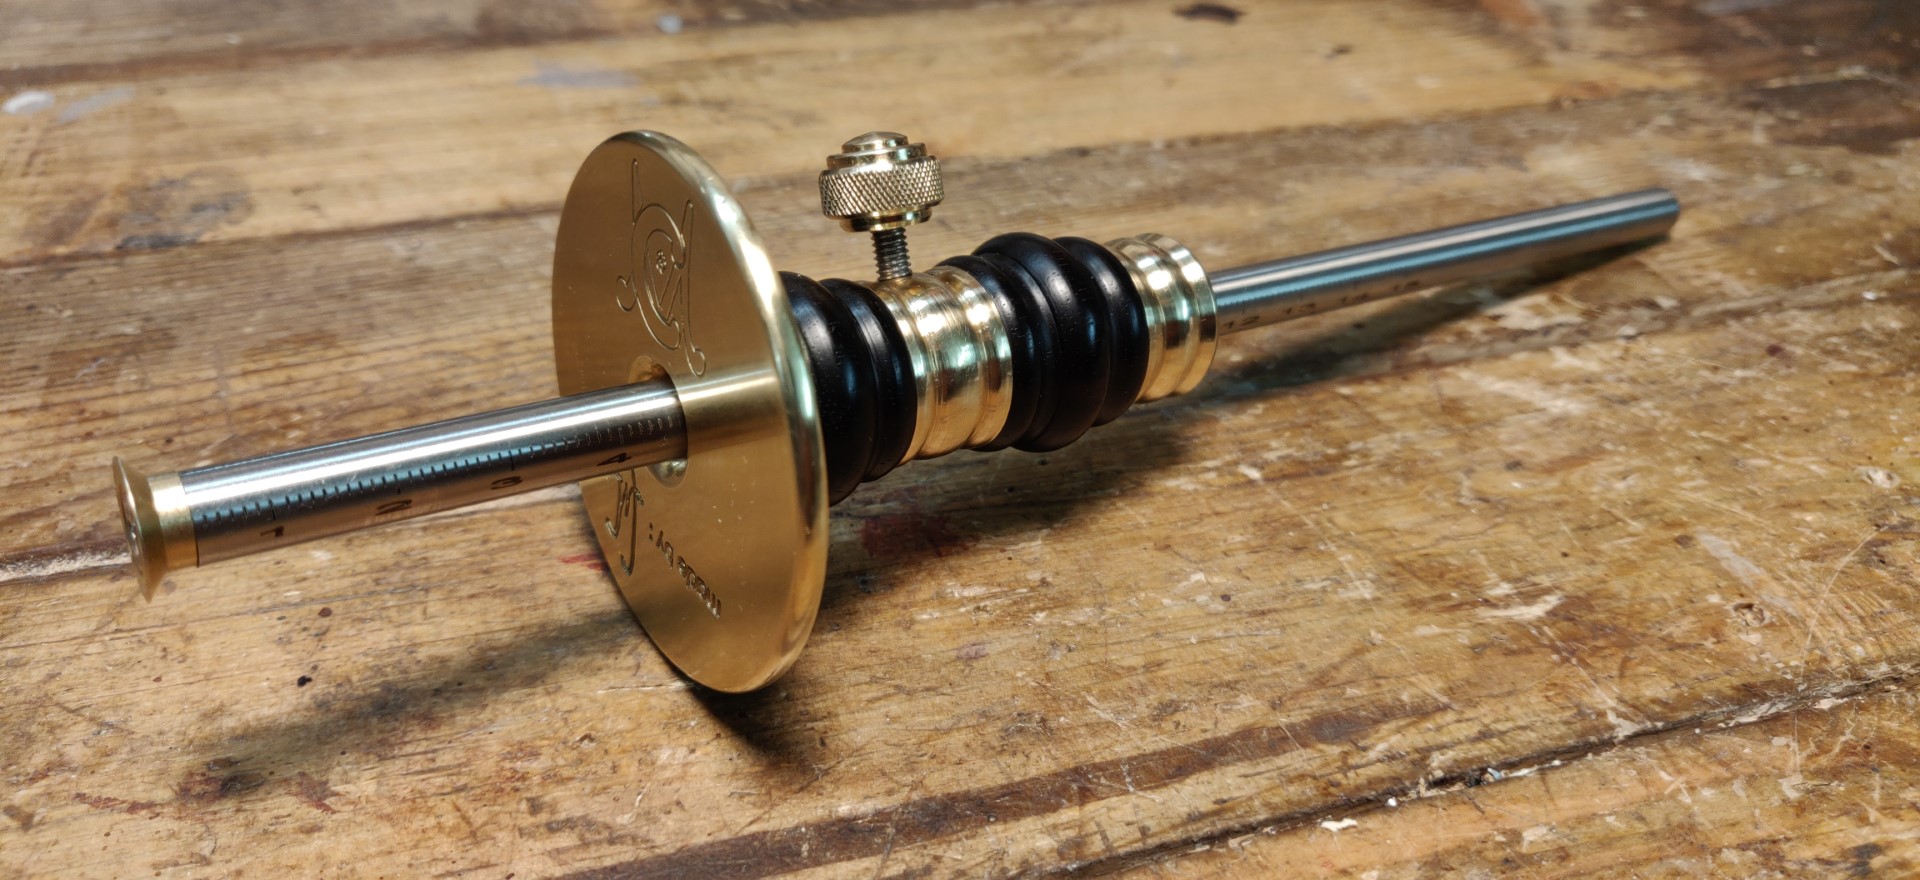
Inlaying the 12V plate, using my homemade router plane.
See this article.
- 14 -

|
Wiring the 12V plate, the blue LED is wired with a 470 ohm resistor on one of
the 12V outputs.
The switch controls the 220V input of the 12V power supply.
- 15 -

|
The mounted plate.
- 16 -

|
The 12V 20A power supply.
- 17 -

|
Cutting buttons holes in the aluminum panel.
- 18 -

|
Buttons welded on a PCB, screwed on the panel, and backed with a wooden plate.
- 19 -

|
Front panel, buttons for MP3 player
- 20 -

|
Assembling the control part under the box lid (not enough room in the control panel).
- 21 -

|
Cabling completed
- 22 -

|
Front face assembled.
- 23 -

|
Inside the control panel, the MP3 player.
- 24 -

|
Inside the control panel, the spot control relay.
- 25 -

|
Inside the control panel, LCD screen with I2C interface.
- 26 -

|
Inside the control panel, The FM tuner and its antenna.
- 27 -

|
In the top right, the bluetooth receiver.
- 28 -

|
The assembly mounted in the lid of the box.
- 29 -

|
The bluetooth receiver.
- 30 -

|
The box finished.
- 31 -

|
The back for energy.
- 32 -

|
Side
- 33 -

|
Front, 12V amp and car speakers.
- 34 -

|
Other side.
- 35 -
|
Control panel deployed.
- 36 -

|
The lid with the leather handle. Two magnets keep the panel closed.
- 37 -

|
The control panel.
- 38 -

|
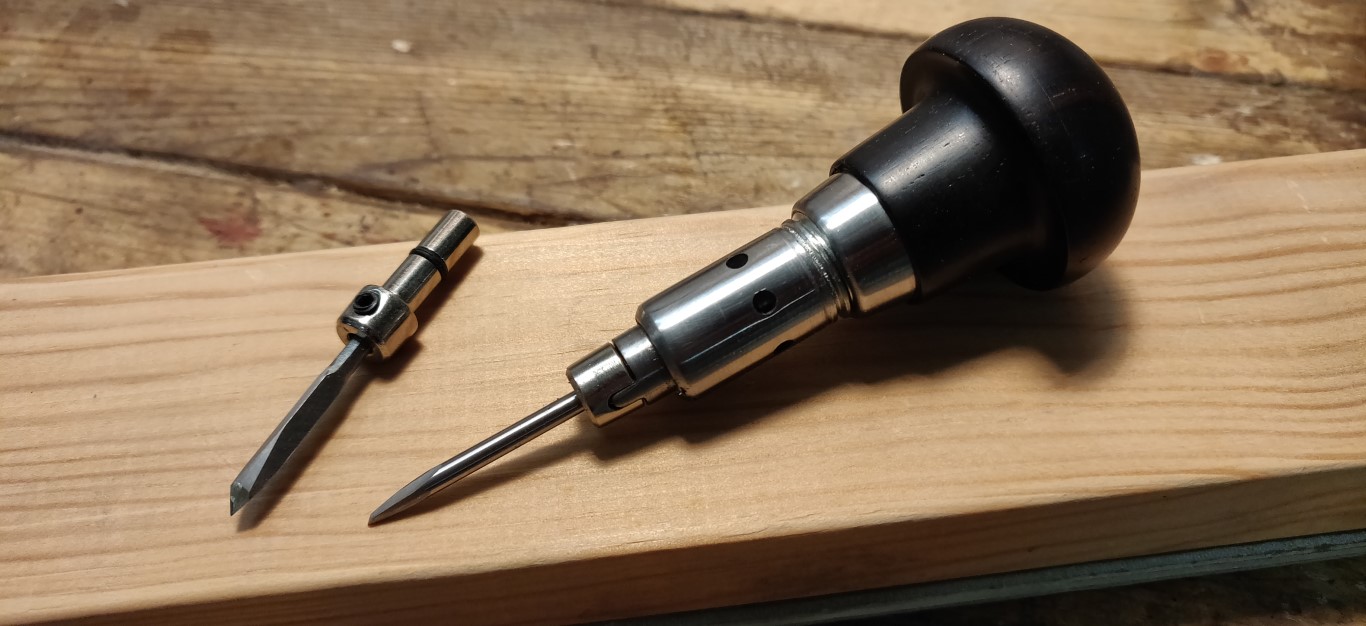
Example of using 12V with my corded cordless drill, see this tool here.
- 39 -

|
Storage of the drill and its accessories in the box.
- 40 -

|
Web interface. The tuner is selected, and the message “Hello” is being broadcast.
- 41 -

|
The settings page.
I recall that I do not sell my makings, however, I can help you to build one
if you wish.
Do not hesitate to react to this article in case of any question or you can
contact me also on my Facebook page.
Happy build !
Christophe

Older readers comments