
Pewter inlaid bombard
Pewter inlaid bombard
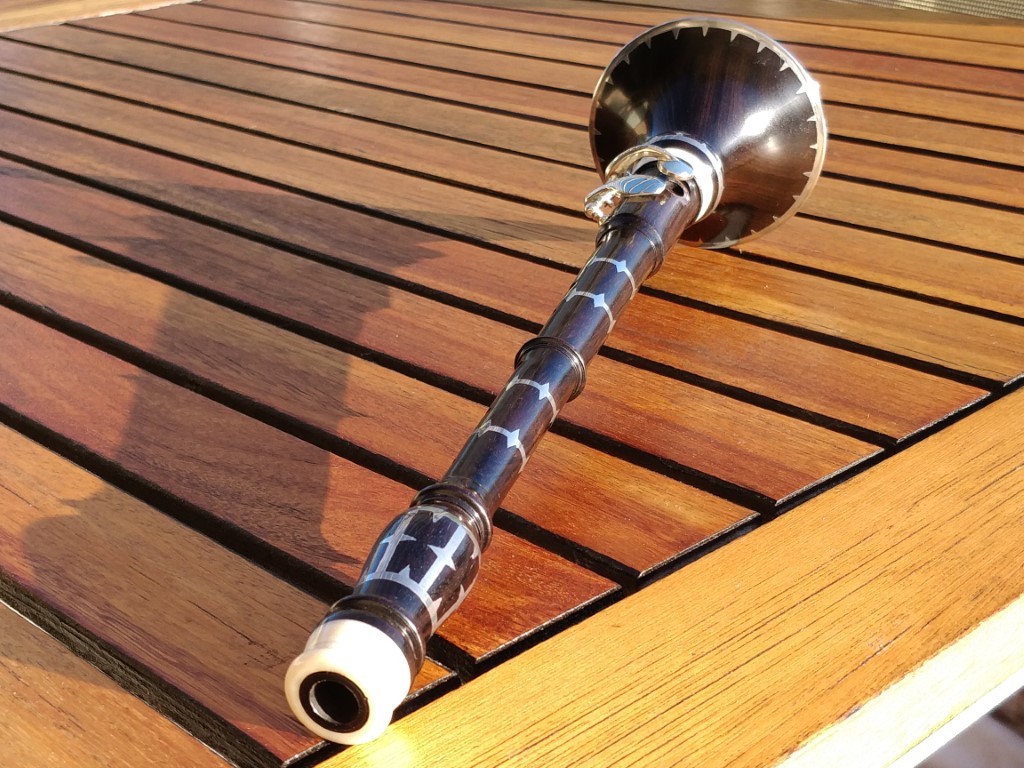
Table of contents :
Bombarde B flat with a key, inlaid with tin

Breton Bombarde made in 2018, May . My personal design :
- Mozambique ebony,
- tin,
- bone,
- nickel silver key.
Further down in this article, you will find details on the making of and links to series of technical articles detailing the tools and techniques specific to the manufacture of wind instruments.
I hope that this information will help you to realize your own projects, do not hesitate to send me photos of your achievements, I will publish them here if you wish.


The initial idea

The initial idea.

The wood: mozambique ebony, stored for some years already.
The bore and the roughing out the body
 Initial drill, gun drill, 6.35mm.
See this article about long drilling..

Unfortunately, I broke my 3.6mm gun drill that allowed me to do a first
drilling from end to end.
Now, I drill the main at 6.35mm, and I finish with step down drills of 4 and 5 mm.


Check here for more informations. I operate in the following order:
1- Blind hole with 6.35mm gun drill
2- Drill with 6.35 to 4mm step down drill bit
3- As its length is not enough to drill through, I finish the few cm missing with a 4 mm D-bit
4- I do an intermediate step with the 6.35 to 5mm step down drill bit.

See the article on long holes drilling. Here, I step up the bore with larger and larger drill bits.

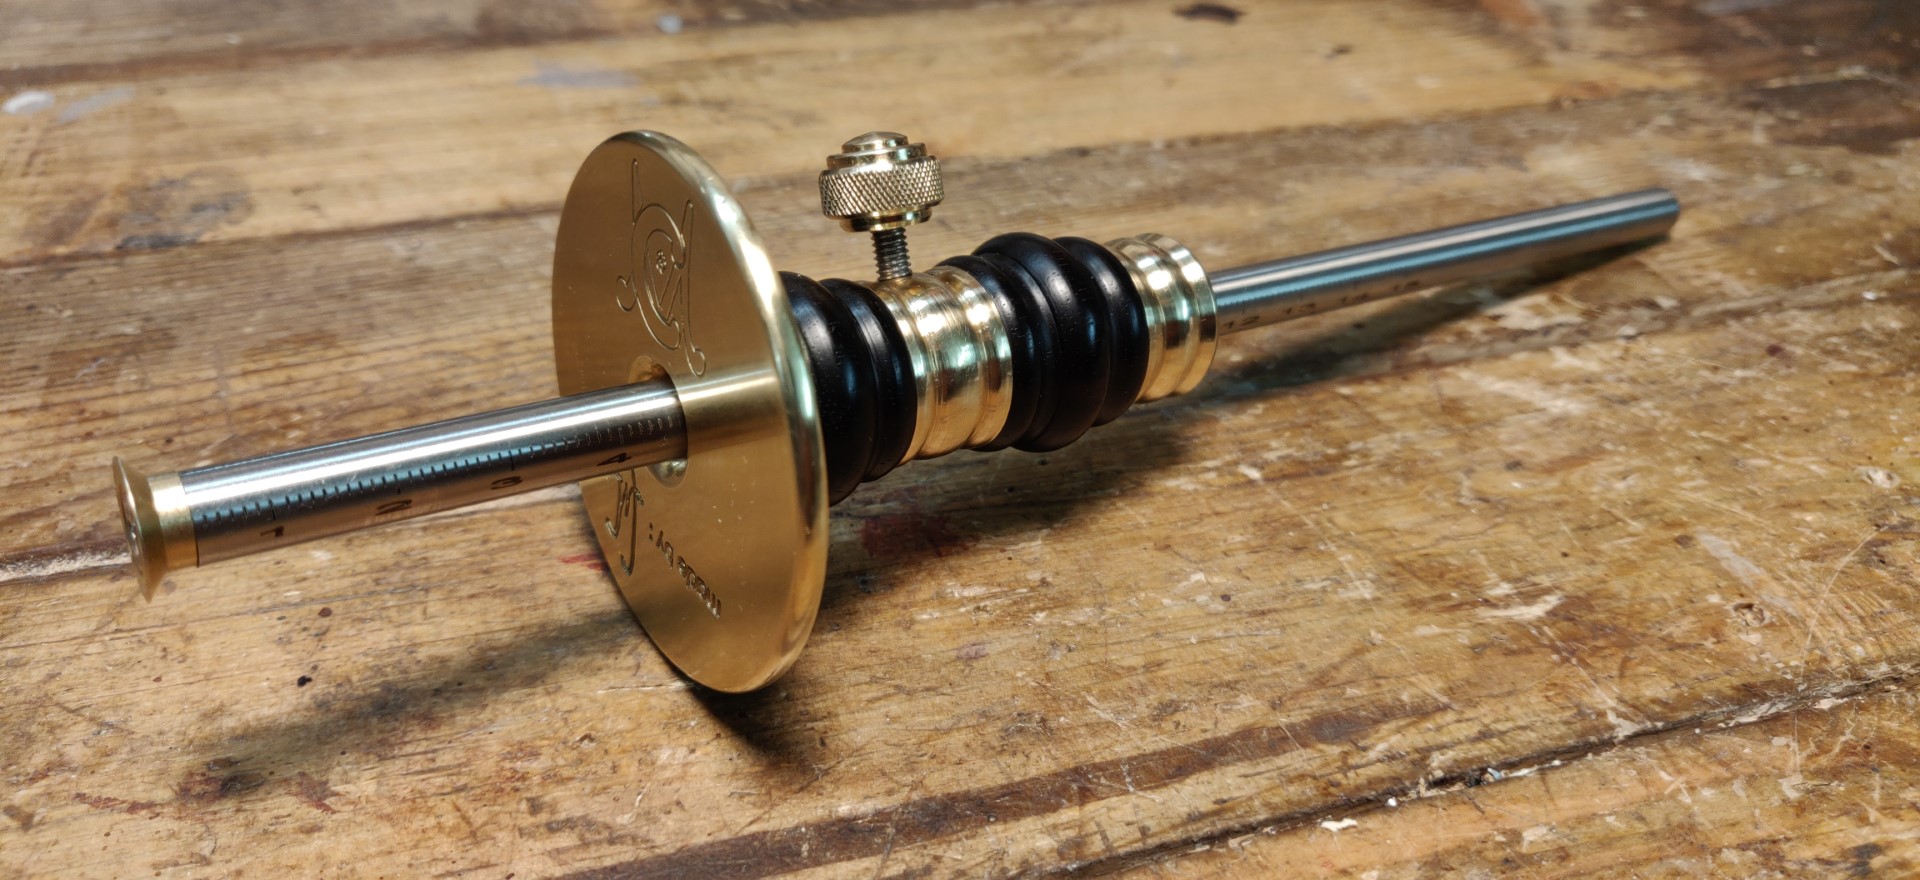
To estimate the depth required for a particular diameter, I use the reamer and
a caliper open at the same diameter as the twist drill bit.
I keep a security margin of 10-15mm shorter.

The stepped drilling is complete.

Boring with the reamer.


The bore ends with a slight flared zone, about 10mm long.
I did not make a reamer for this form, I cut it freehand with a miniature
scraper and a steady rest.

Roughing out the outer shape on the metal lathe.

The bone bottom ring has been glued on and the tenon for the bell is also
turned down.
The bombard is installed on a conical steel mandrel.
See this article about the making of bone mounts..
The cone constituting the reed seat is bored.
The bombard can already be tested with an existing bombard ’s bell.
The note obtained must be slightly lower than the leading one, it is adjusted
temporarily with the reed seat reamer and possibly by shortening the top end.
The note will rise when the holes are drilled, due to the volume represented
by each tone hole chimney.
It will be necessary to readjust later.
Tuning

Using a slider ruler to mark the location of the holes, depending on the plan or model.

I start first with drilling under-sized tone holes, to take into account already a certain volume for the chimneys.

The notes are then tuned starting from the bottom.
We must be very careful every time we increase the diameter of a tone hole, we
can not go back.
The final note is obtained by “under cutting”, ie a kind of chamfer made
inside the bore, especially in upward direction.
This chamfer is made with small angled tools and / or a needle file.
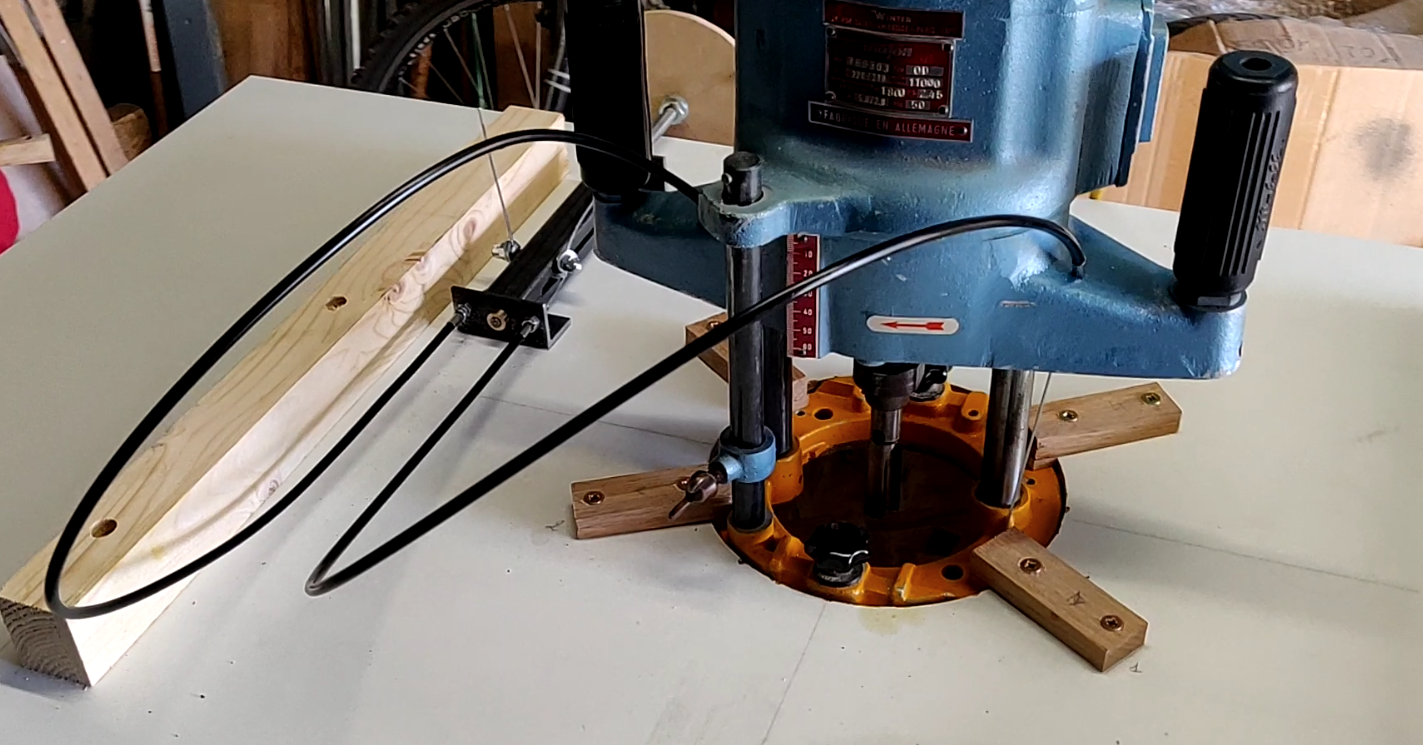
The instrument is immobilized on a V-shaped block (two angles welded in
oppositions).
Body Finishing Turning

Turning, on the wood lathe, see a similar tool here.

Preparation for metal inlaying.


See this article on pewter inlaying.
The external shape is finished.
Bell

First roughing out a tenon for holding the piece in the chuck.

Boring an inner chuck grip on the other side.

Expansion grip.

Boring the tenon slot.

Roughing out the general shape with steps, keeping the ebony left overs for later projects.

This photo shows that the tenon socket does not open through. There is continuity between the flare area at the end of the body of the instrument and the bell.

Boring the inner main cone.

Back on the wood lathe and refining in a more flared shape. The slot for the outer ring is machined at this stage.

Shaping the outer profile.

The bulb that will serve as a ring to the tenon.

Turning the groove that will prevent the tin ring from slipping out.

Carving and tracing for inlaying. See the article on matal inlaying.

The bell is finished.

The bottom ring.
The assembly of the key

Drilling and tapping for ball posts setting.
See the article about key making.

Glueing the pad.
A small piece of hot melt glue is placed in the cup and heated with an alcohol
lamp.
The glue does not harden immediately and allows time to position the pad for a
few seconds.

When the key is mounted, I reheat the cup, and we adjust, without forcing, the pad on the hole. The hole has a domed shape so that the contact area with the pad is reduced to a circle. See this article for more details.

Adjusting the pad to the hole on the instrument.
See also this other bombard out of cherry wood :

Feel free to respond to this article if you have any questions or you can also contact me on my Facebook page. Happy machining!
Christophe
(PS I remind you that I do not sell my creations or my services, this
information is published only for purposes of sharing and mutual aid for
amateur factors.)

Older readers comments
Hello from damieng