
Bari Mando - MOP Inlays
Galerie Bari Mando - MOP Inlays
gallery Bari Mando - MOP Inlays
Welcome to the gallery Bari Mando - MOP Inlays.

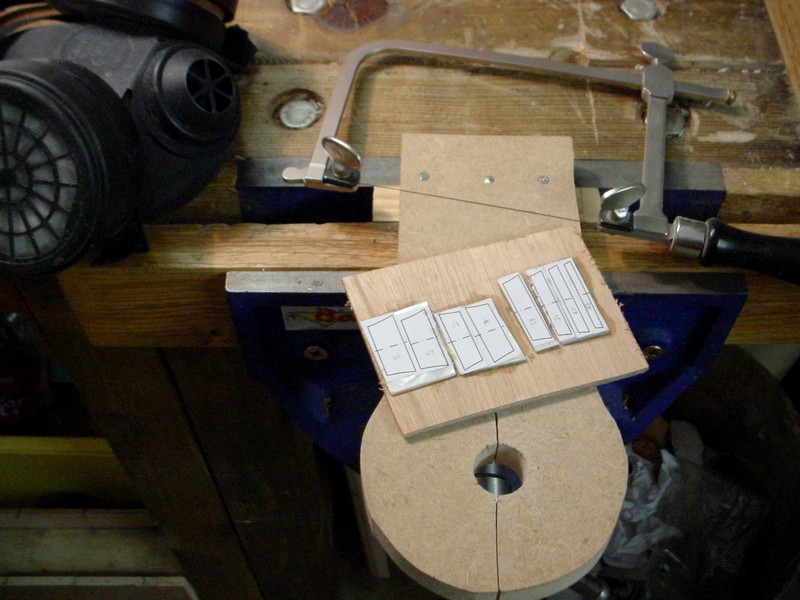
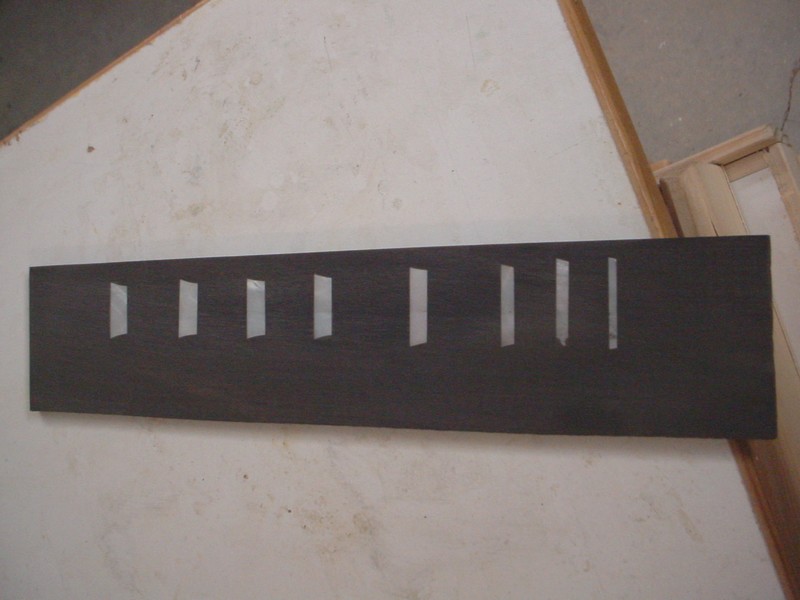
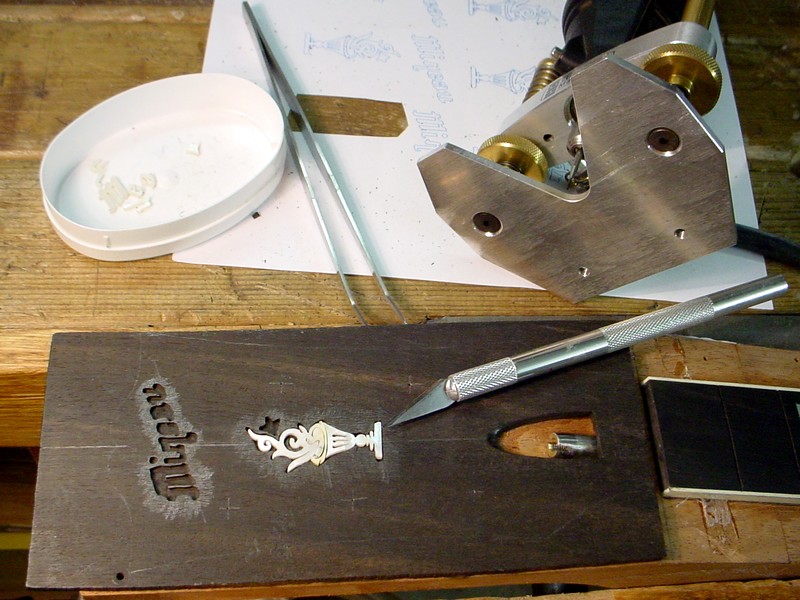
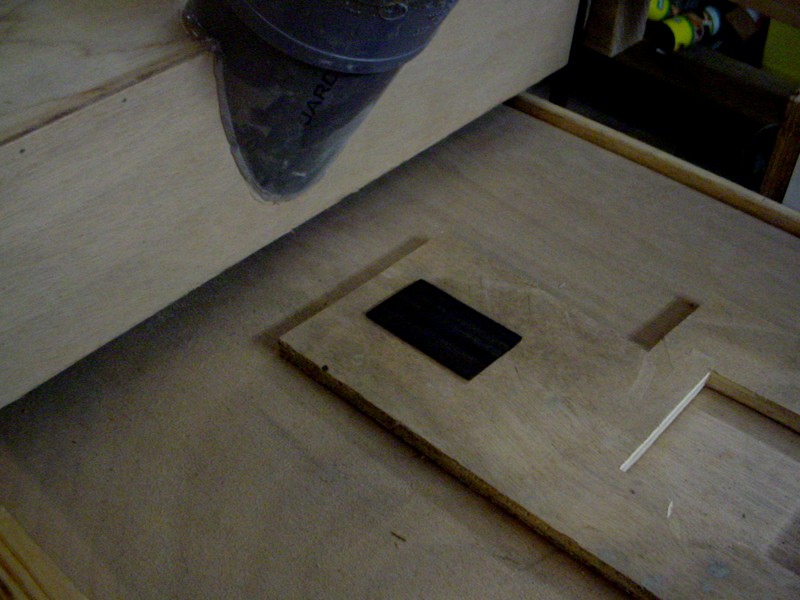
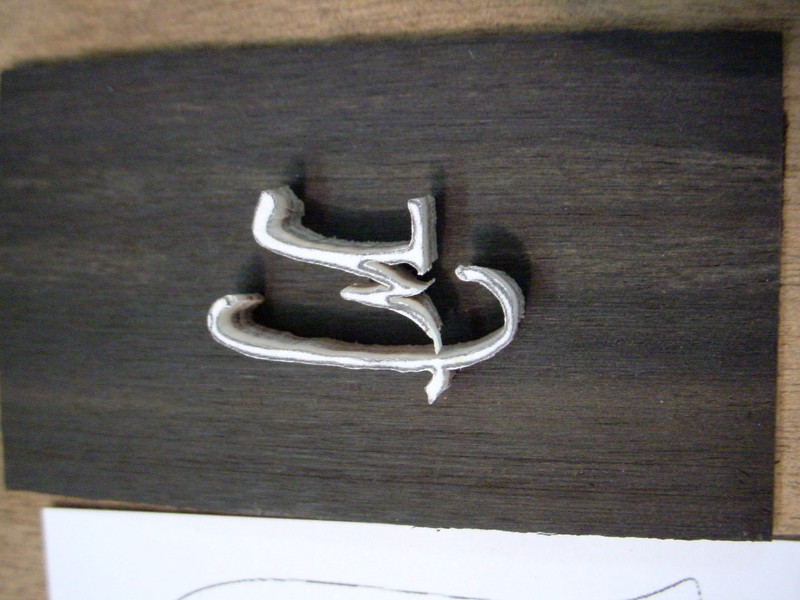
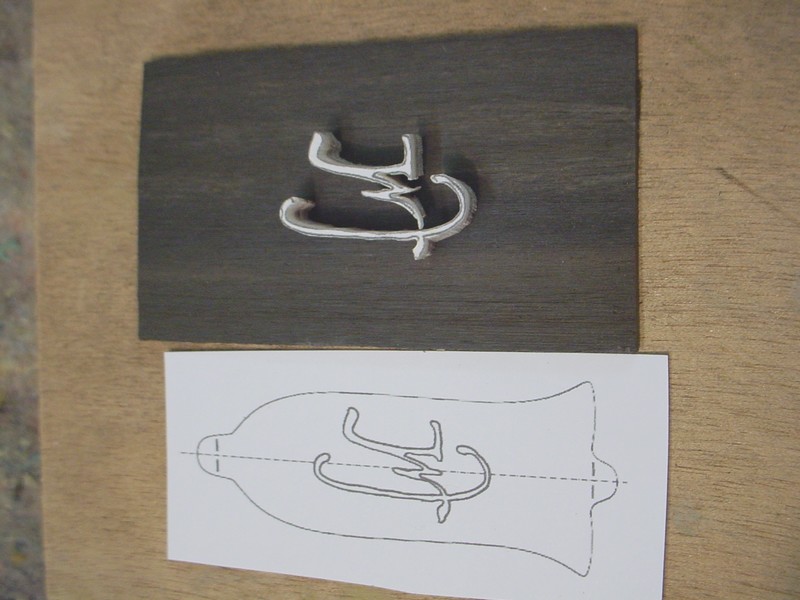
The inlay shapes are cut from a printout of the plan. They are glued onto MOP pieces, which are glued on to 3mm plywood.
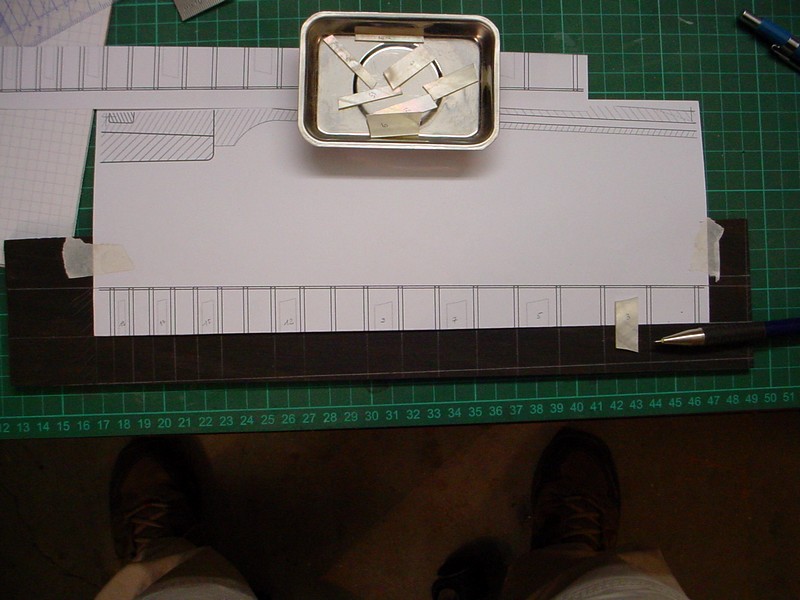
I use a half of the plan to locate the pieces on the fretboard, but I use the true piece to scribe the contour on the wood.
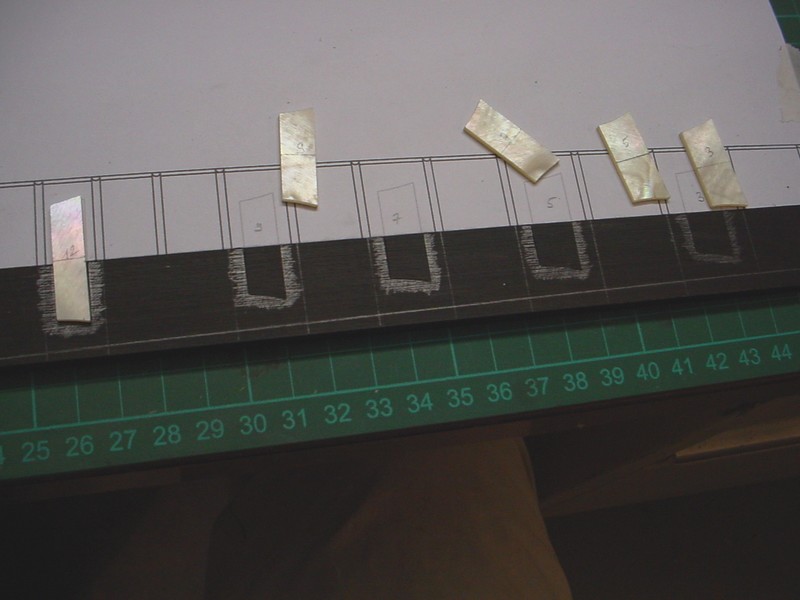
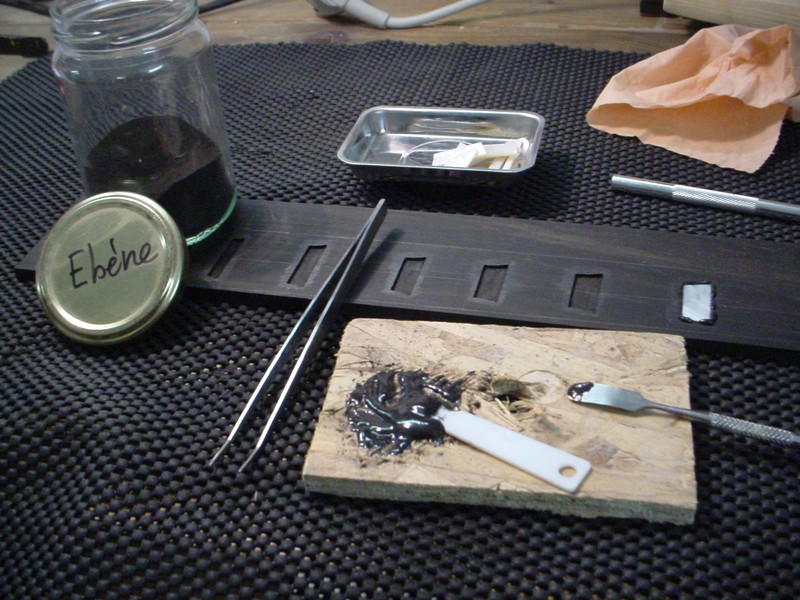
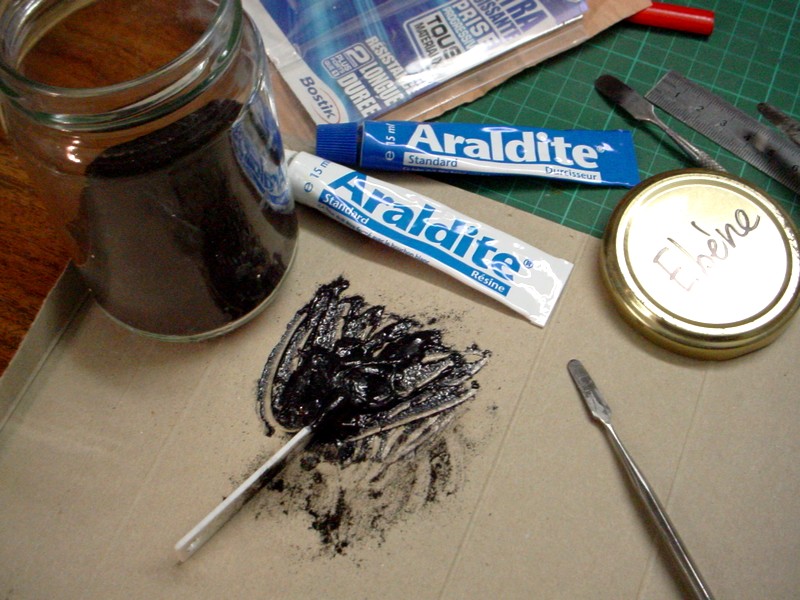
Rather than a simple stroker, I prefer to colour in with a graphite pencil. Graphite is bright and I get more contrast doing so.
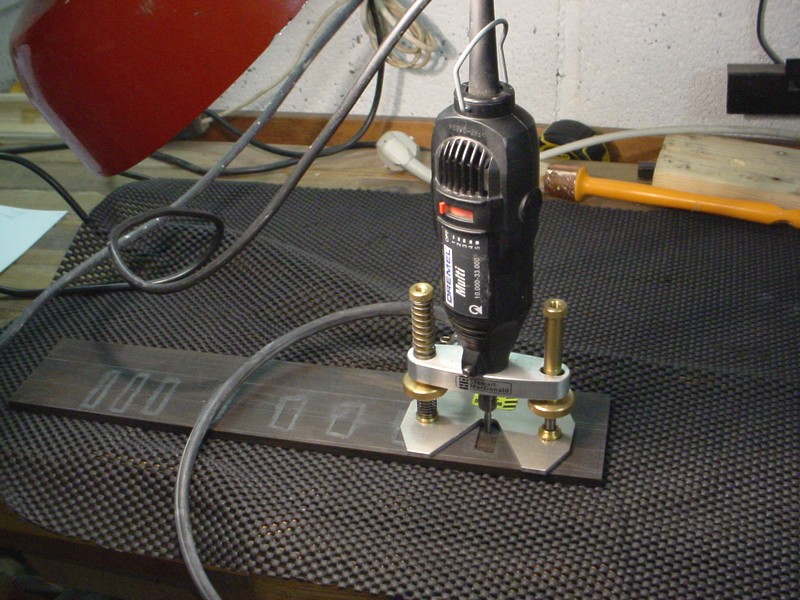
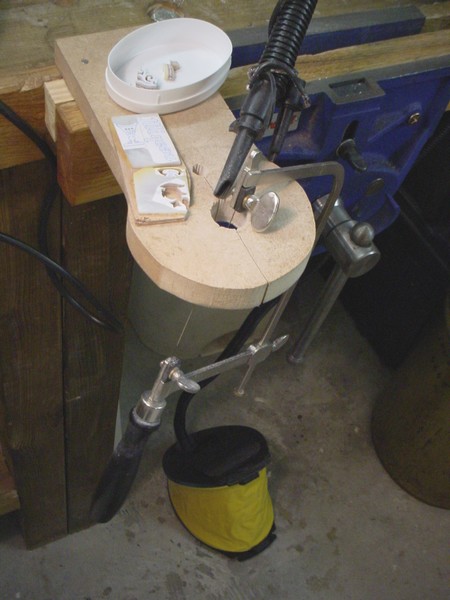
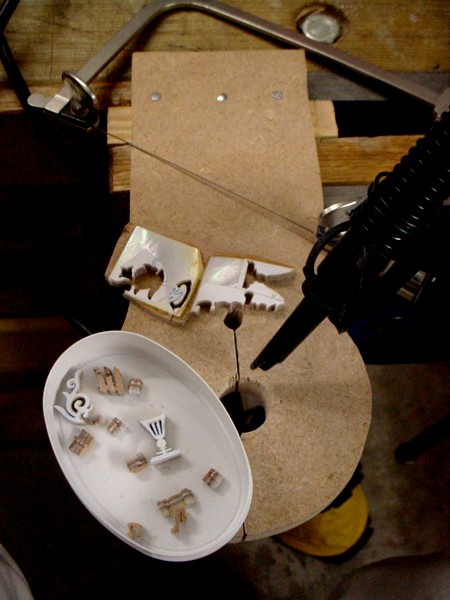
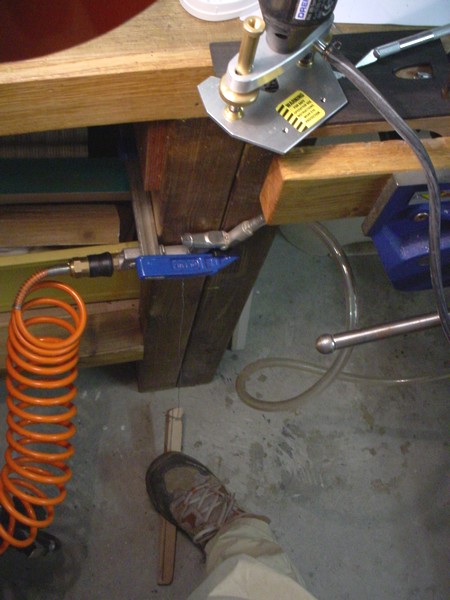
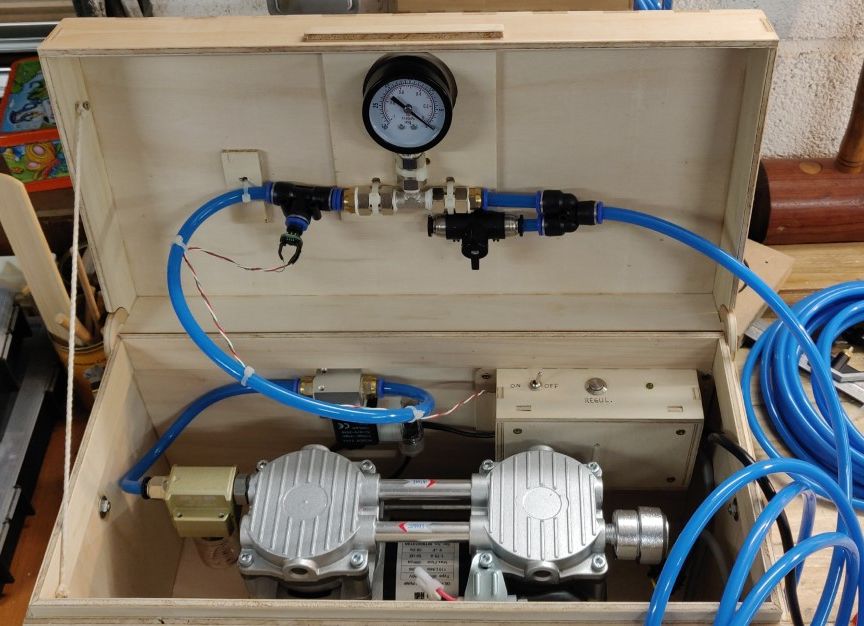
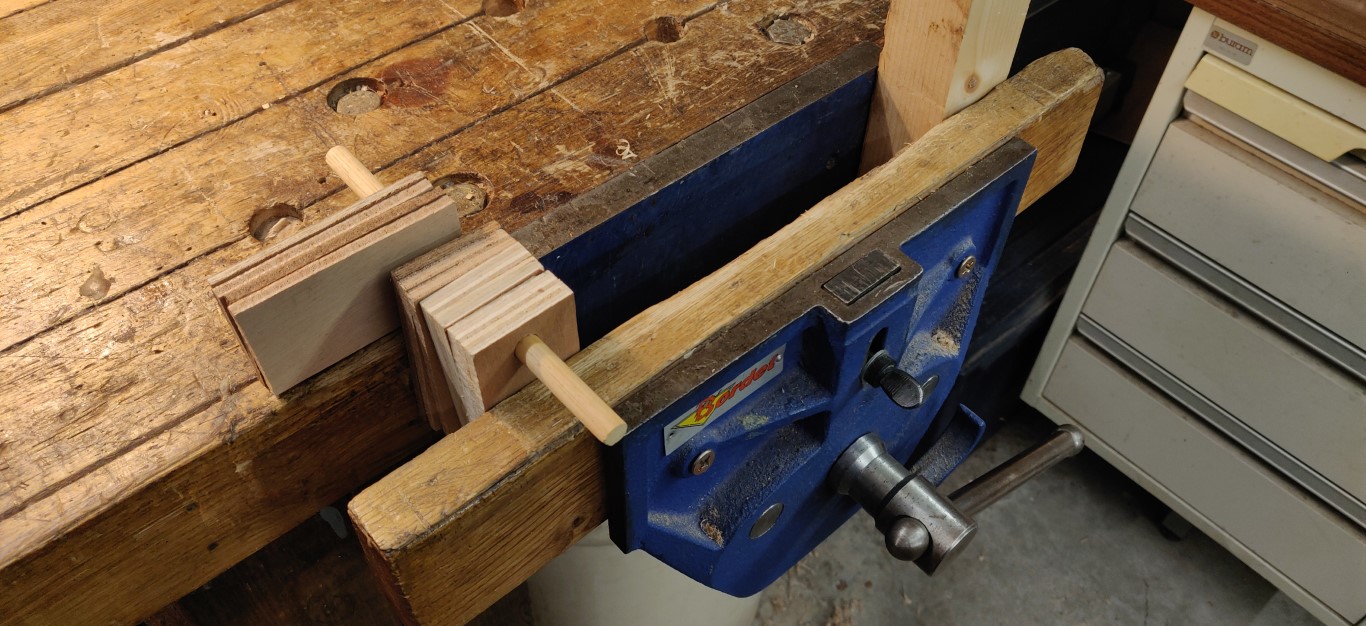
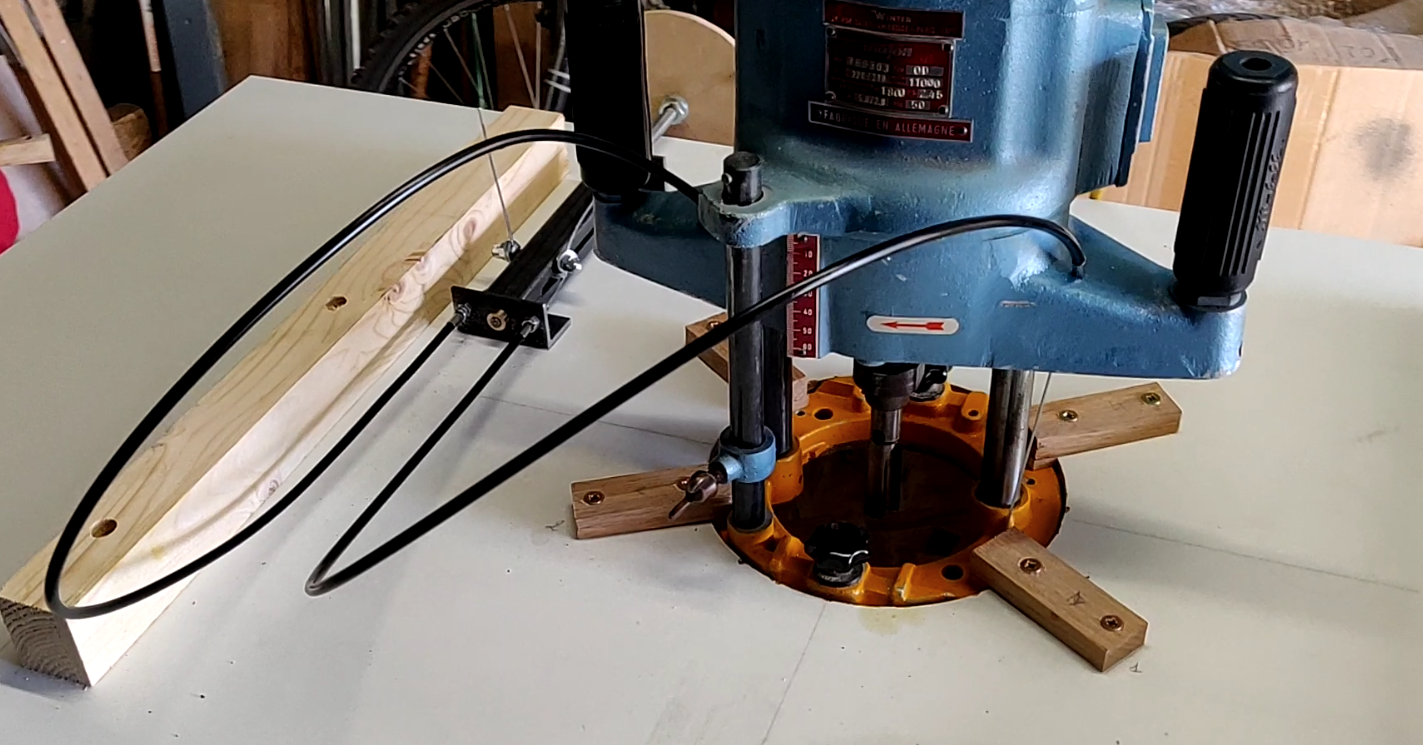
Here is my setup for MOP cutting. A jeweler sawing support and a camping belows for constantly blowing out the dust. A mask and some glasses are mandatory. This dust is toxic.
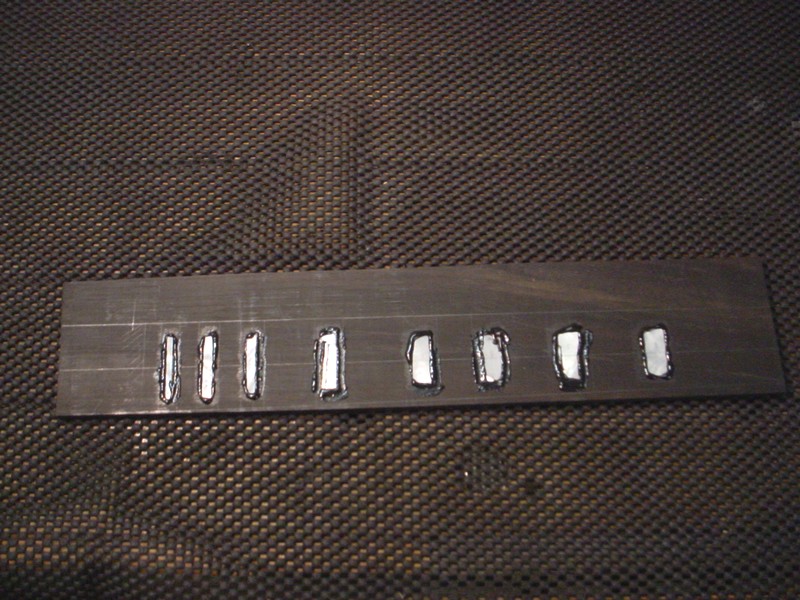
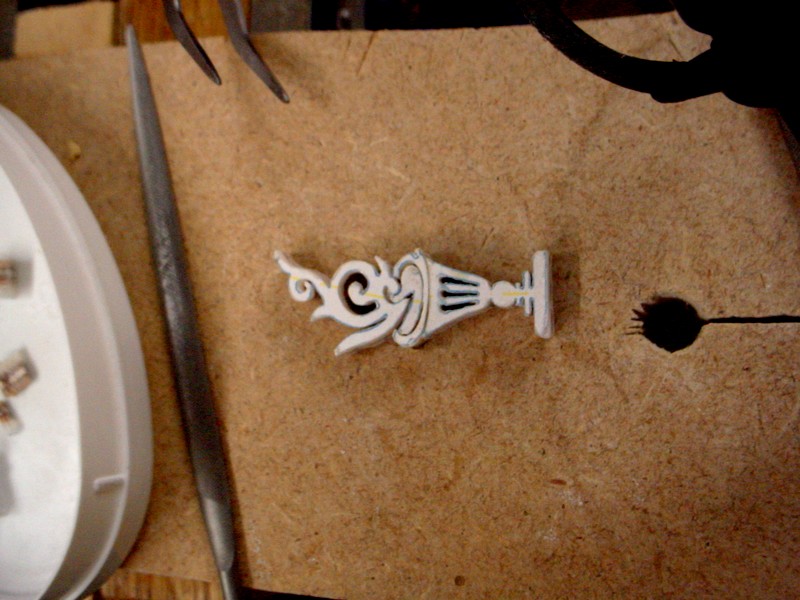
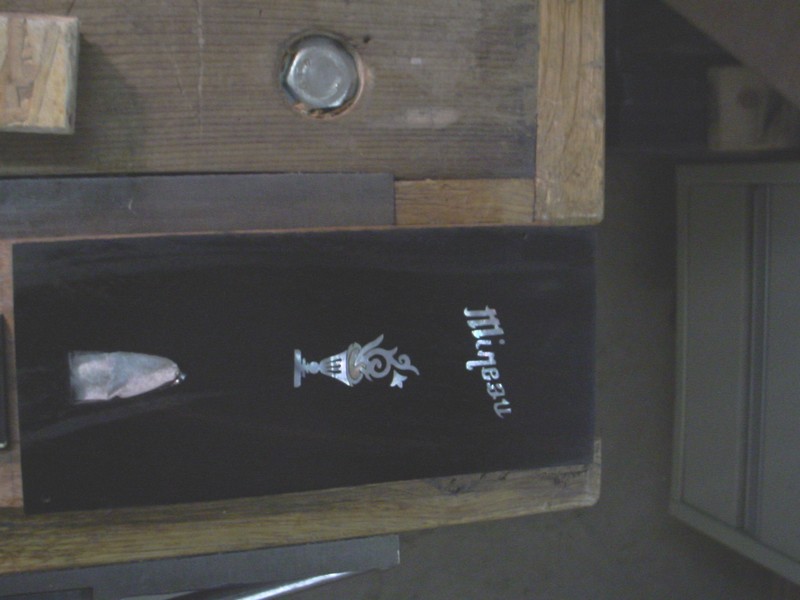
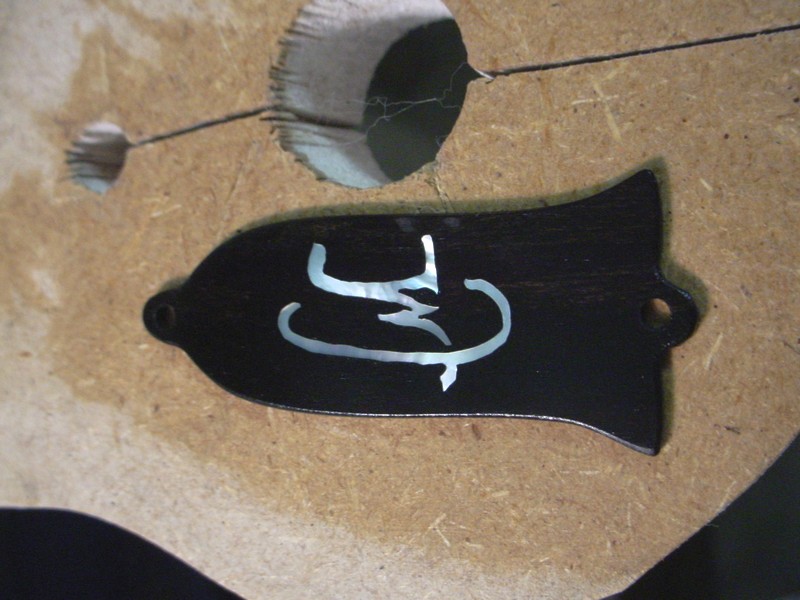
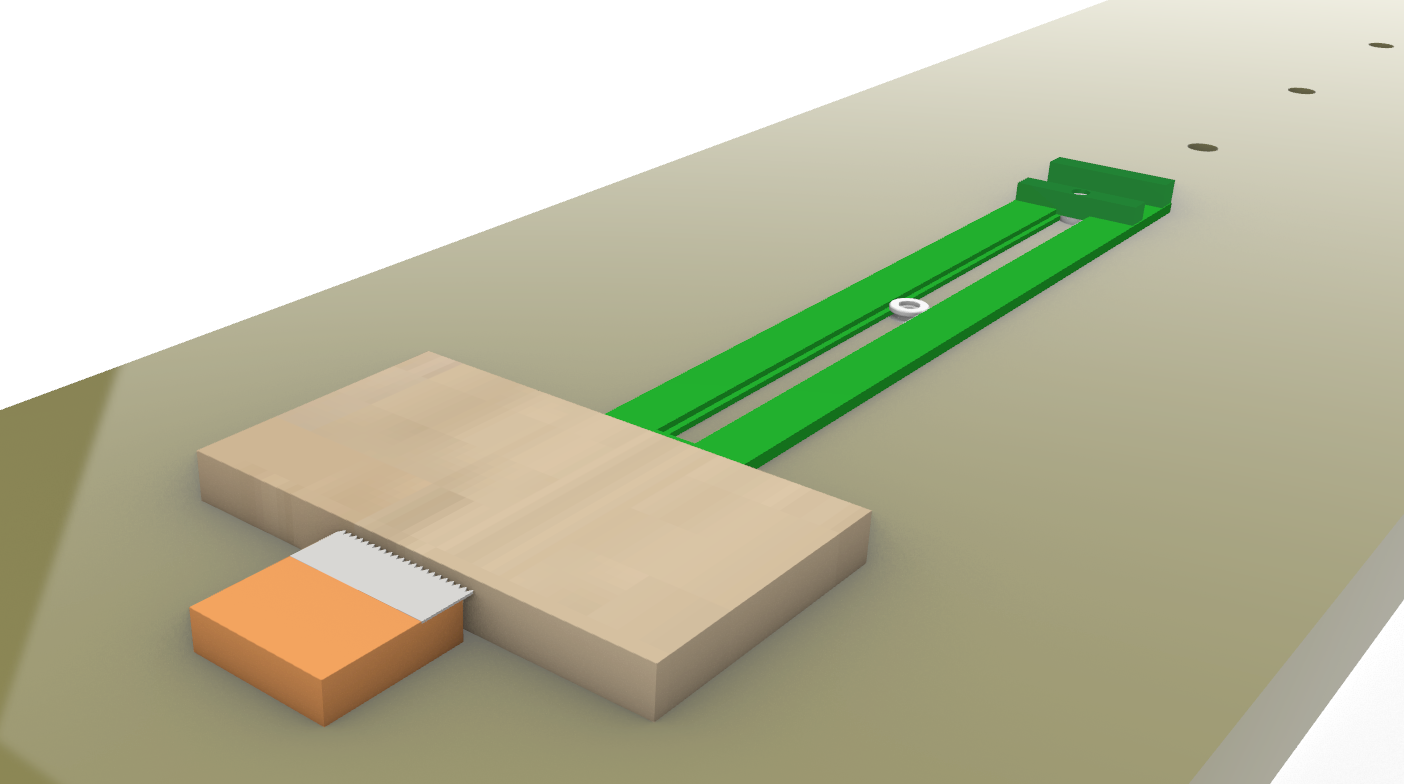
All the pieces are cut and filed, together with the plywood layer, which was glued with Titebond. The plywood allows to avoid beaking.
All contents under Creative Commons BY-NC-SA license.

Older readers comments